 | |
| click on photo's to enlarge |
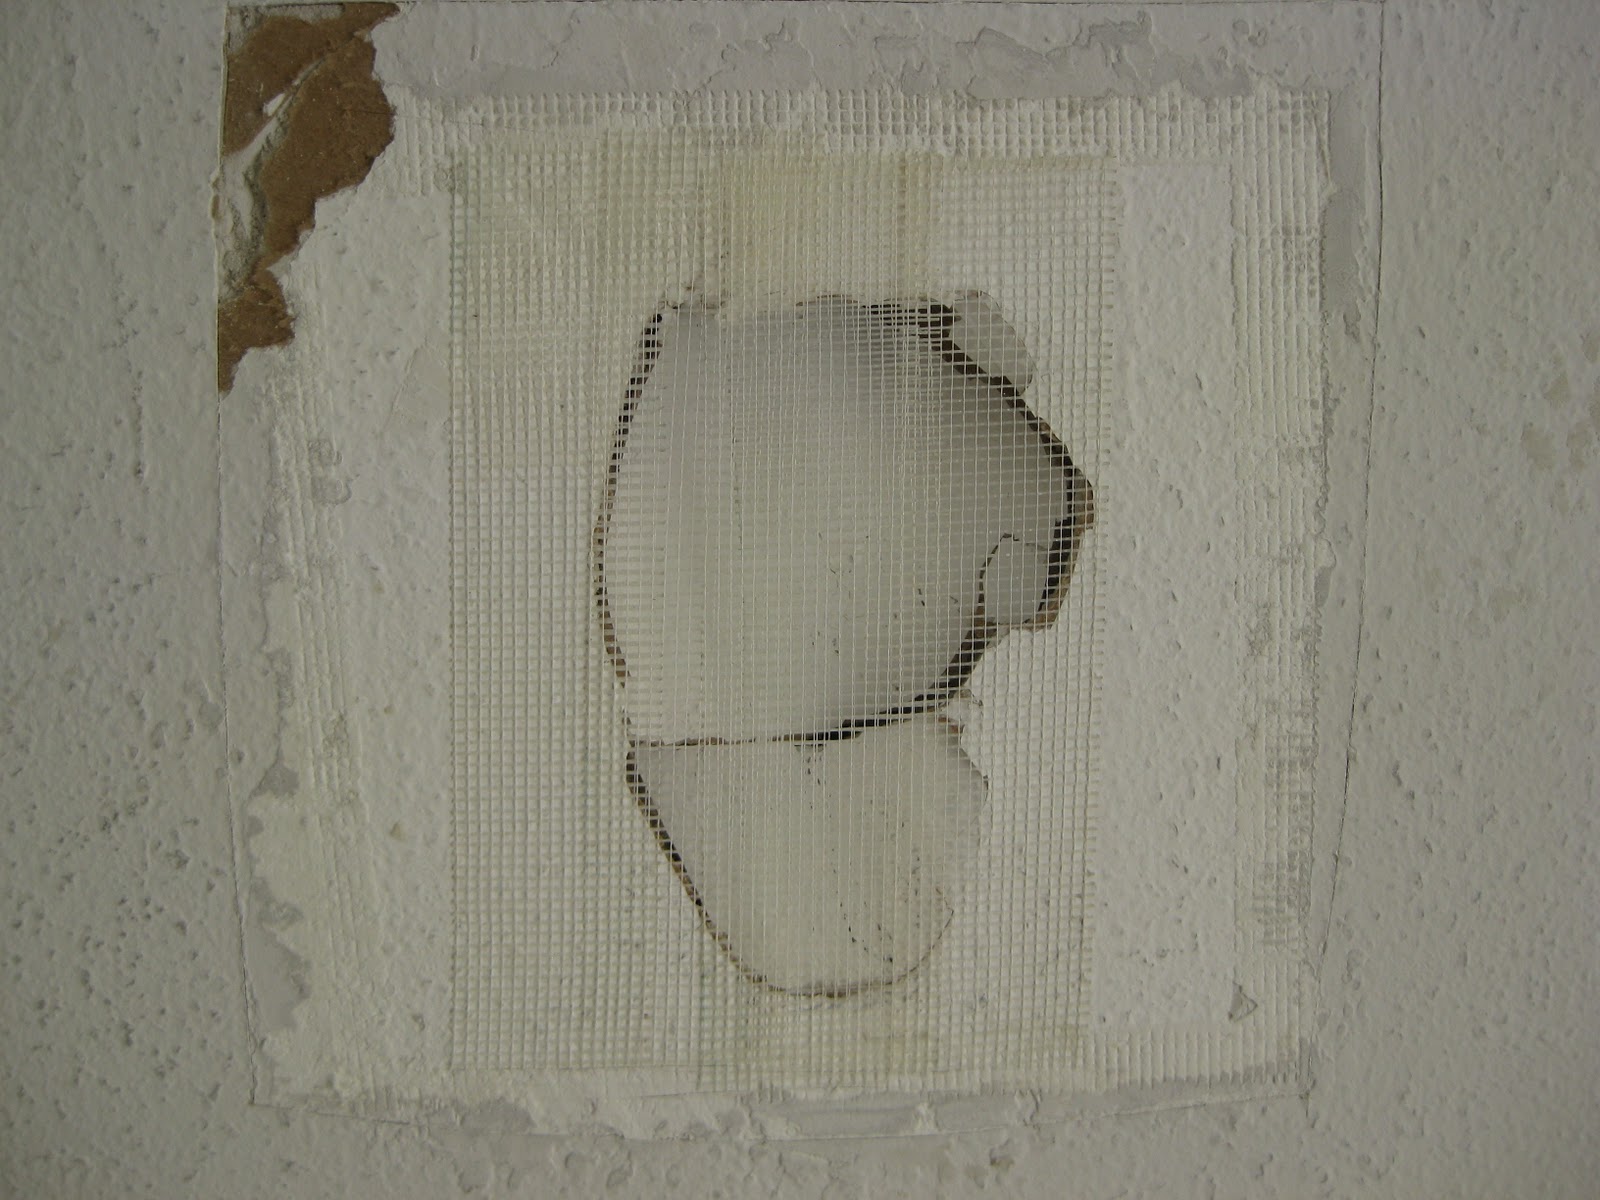
As you can see there is a wall repair which has to much texture and it does not match the surrounding area. Let's see what else we will find.

Note: I used 20 min. compound mix for this project. If there is no time restraint you can use basic drywall compound. Apply small amount of compound. It's amazing how little goes a long way.


 Another coat of of compound was applied with a 6 in blade. Build up the hole so that it is level with the surrounding area. It may take another coat to get everything level. When the compound fully dries and you are satisfied go ahead and sand the area with 150 grit sandpaper.
I like to sand the outer sides to feather them into the surrounding area, and then into the center. Wipe the area clean with a damp cloth, when dry apply a water base primer with a 4 in. roller and a 1/2 in. nap.
In this final photo I applied the orange peal texture from a spray can. Try not to cover the area in one shot. Take a moment to see if you need more and apply again. To remove the excess, use a damp sponge before it dries. Spray slightly onto the outer areas of the patch going on the original wall texture, but be careful not to over do it. When texture is dry I applied a water base primer and when it dried, I applied latex finish coats with a 4 in roller 1/2 nap.
NOTE: Practice spraying the texture onto a piece of drywall or board before applying it to the wall. Most of these spray cans have a dial at the tip which enables you to increase or decrease the amount of coverage. Cover the floor, furniture and window treatments before spraying the texture. Protect your eyes and ware a dust mask. Follow all manufactures instructions. Take your time and have fun! If have any questions please -
Call 772-879-9678 or e-mail us at arrayofcolorinc@yahoo.com
No comments:
Post a Comment